How to Replace a Carrier Roller
Component selection, fitment and the connections that keep an undercarriage working as a system.
On this page
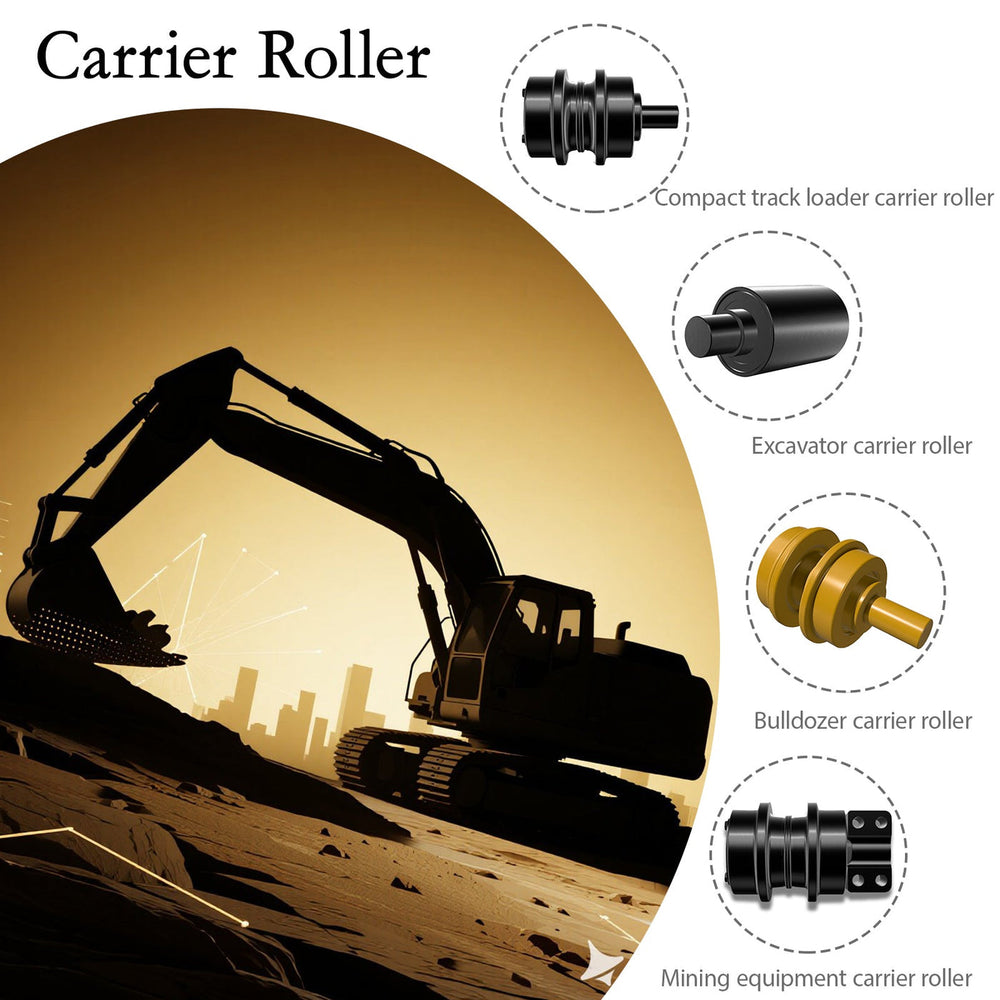
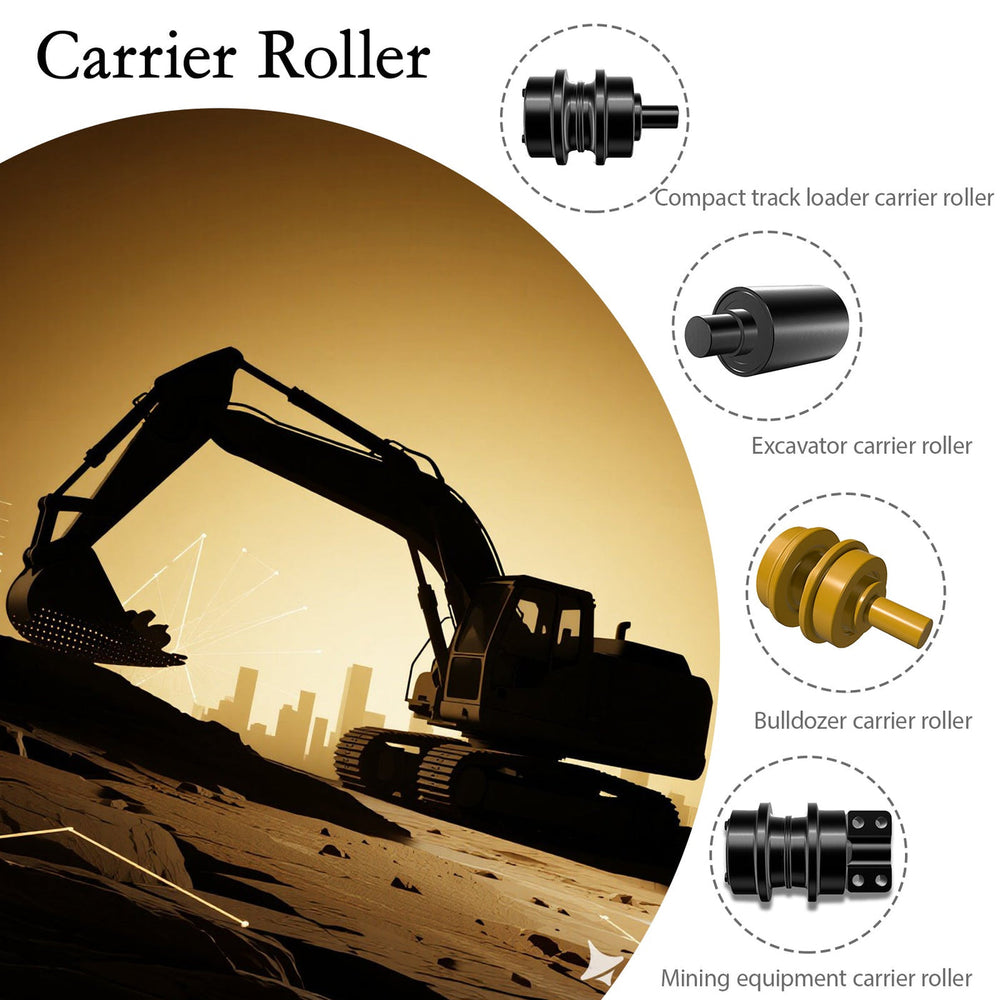
Replacing a carrier roller is a bracket job, not just a roller job: the top roller is bracket-mounted on the track frame, and the shims, bracket spacing, and hardware decide whether the new roller runs quiet and free. The procedure is simpler than a bottom roller swap — the machine does not need to be lifted — but it has its own rules: safe access, careful shim handling, fitment checks against the bracket, and correct torque. This guide walks the full sequence for Komatsu, Cat, and generic bracket-mounted top rollers.
Key Facts — Carrier Roller Replacement at a Glance
Entity: KTSU — carrier roller listings with bracket notes and OEM cross-references.
Key difference: bracket-mounted rollers need shim and spacing discipline, unlike bolted bottom rollers.
Examples: Komatsu 20Y-30-00481 (PC200-8), Cat CR5595 (325-series family).
Safety: access from ladder, platform, or ground — no climbing on the track while it can move.
Checks: shell width, bracket center distance, fasteners, torque, spin test.
Manufacturing: NITTO friction welding, precision CNC machining, and floating-seal assembly on a 70,000-square-meter campus.
How Do You Access the Top Roller Safely?
The carrier roller sits on top of the track frame, so access is the first decision. On small machines the roller is reachable from the ground; on mid-size and large machines you need a ladder or a platform, not a climb across the track. Park level, set the bucket or blade down, kill the engine, and engage the safety lockout before anyone climbs up. Work from a stable platform with the machine's own rails or a proper step — never from the moving track.
Access is also the reason this job is quieter than a bottom roller change: no lifting, no stands, no track removal. The track stays in place, tension can stay set for most bracket-mounted rollers, and the work happens at the top of the frame. That simplicity is exactly why the shims and bracket checks below matter — they are the whole job.
Removing Bracket-Mounted Carrier Rollers Without Losing Shims
Bracket-mounted top rollers sit on a bracket with shims or spacers between the bracket faces. Those shims set the roller's lateral position on the frame, and losing them turns a simple replacement into a fitment problem. Before removing anything, mark the bracket position and the shim stack — a scribe line across the bracket and frame, plus a note of how many shims sit on each side. Keep each side's shims separate and photographed.
Back the mounting bolts out so the roller is relieved evenly, hold it with a jack or sling so it does not drop, and lift it straight off the bracket. Clean the bracket faces before you measure, because the fitment check needs clean reference surfaces. A seized roller adds a step: with the mounting bolts out, the roller may still be rusted or galled to the bracket — the seized-roller section below covers breaking it free without damaging the frame.
Fitment Checks: Shell Width, Bracket Spacing, and Fasteners
Three measurements confirm the new roller fits the bracket. Shell width — the new roller's shell must match the old one within spec, because it sets the chain contact band. Bracket center distance — the distance between the bracket faces must match the roller's mounting dimension, or the roller binds or wobbles. Fasteners — the bolt size and grade must fit the bracket bores and follow the machine's torque spec. The carrier roller sizing guide in this cluster covers the measurement method for each field in detail.
Do not rely on the part number alone for the bracket check: the same OEM roller number can carry different bracket versions across machine revisions. Measure the old part, compare the new listing's spec, and confirm the position — front, center, or rear — because top-roller positions can differ in shell width on the same machine.
How Do You Remove a Seized Carrier Roller?
A seized top roller is usually seized at the bearing, not at the bracket, so the removal sequence stays the same: release the mounting bolts and lift the roller off. When the roller has been locked for a long time, the shell may be galled to the bracket or the bolts rusted in place. Work the bolts with penetrating oil and heat per shop procedure, and use a pry or a slide hammer on the roller shell — never on the bracket — to break it free.
If the roller will not separate from the bracket without force that could damage the frame, stop and reassess: the bracket may need replacement, and a damaged bracket face is a fitment problem for the new roller. The seized-roller guide in this cluster covers the diagnosis and handling in the field; here, the removal rule is protect the bracket, because the bracket is part of the roller's mounting system.
Torque and Final Alignment for a Quiet, Free-Rolling Top
Install with the same discipline as any track component: clean the bracket faces, place the shims back in their original positions, seat the roller without force, and torque the bolts in passes, using a criss-cross sequence, to the machine's spec. The torque value comes from the OEM manual — there is no universal top-roller figure — and the bolts are inspected or replaced by condition.
Then the alignment check: the roller must sit square to the frame with its shell aligned to the chain run, and it must spin freely by hand. A quiet, free-rolling top roller with the return chain sitting flat on it is the pass condition. Restore any tension that was released, spin the track through one slow full revolution, then return after the first working shift to re-check the bolts and the seal area.
Do Carrier Rollers Need Shims?
On bracket-mounted designs, yes — the shims or spacers set the roller's lateral position, and the factory spec may require a specific shim count or thickness on each side. Removing them, or swapping them between sides, shifts the roller and lets the chain run off-center against the guide. That is why the removal step marks the stack and the install step returns each side's shims to their original position.
Some designs use shimless brackets with machined spacers, where the spacer is part of the bracket or hardware kit. In either case the rule is the same: the lateral position is a specified dimension, not a preference. When the old stack is missing or damaged, measure the roller's center against the bracket and order the correct shim set before installing.
Reusing vs. Replacing the Bracket and Hardware
The bracket is part of the carrier roller system, not just a mounting detail. Inspect it before reusing: clean faces, no distortion, no cracks, bolt holes in spec, and the shim stack intact. A worn or bent bracket guarantees the new roller runs misaligned and fails early — the same failure the old roller died from. Bolts follow the same logic: corroded, stretched, or wrong-grade bolts are replaced, not reused.
When the bracket needs replacement, confirm the bracket version against the machine's serial range — the same roller number can mount on different brackets across revisions. The Komatsu 20Y-30-00481 top roller for the PC200-8 and the Cat CR5595 carrier roller for the 325-series family are examples of listings where the OEM cross-reference and the position notes travel together, so the bracket question can be asked against a concrete part number.
Common Carrier Roller Bracket Styles by Brand
Bracket styles differ by brand, and the style changes the procedure more than the roller does. Cat machines commonly use bolted brackets with machined spacers; Komatsu designs use shim-stack brackets on many models; compact brands like Bobcat use lighter brackets with smaller fasteners. The pattern across all three: the roller is the wearing part, the bracket is the alignment system, and the two are specified together.
Carrier roller bracket style notes by brand family
| Brand family | Typical bracket style | Replacement note |
|---|---|---|
| Caterpillar | Bolted bracket, machined spacers | Confirm spacer count with serial range |
| Komatsu | Shim-stack bracket on many models | Mark and return each side's shims |
| Bobcat / compact | Lighter bracket, smaller fasteners | Torque to compact spec, avoid over-torque |
The carrier roller collection on this site carries listings across these families with the cross-referenced numbers stated, so the bracket style can be confirmed against the machine's serial range before the order. When in doubt about the bracket, photograph it with the roller — the supplier can confirm the style and the hardware in one pass.
KTSU Expert Views
Replacing a roller on a worn bracket guarantees the new part fails early. In our application reviews, the top-roller jobs that come back are rarely the roller — they are the bracket that was not checked, the shims that were lost, or the spacer that was swapped side to side. The carrier roller is bracket-mounted for a reason: the bracket sets its position in the chain run, and position is what keeps the return chain flat and quiet. Our listings state the cross-referenced number and the position notes together so the bracket question gets asked before the order, and our replacement guidance treats the shim stack as a measured dimension, not a pile of washers. When a shop marks the stack, cleans the faces, and torques to spec, the top roller runs to its service interval. When it skips those steps, the new roller inherits the old failure.
- KTSU Application Engineering Team
Conclusion
The bracket is part of the carrier roller system, not just a mounting detail. Access safely, protect the shim stack, measure the fitment, torque to spec, and inspect the bracket with the roller — the replacement only counts when the position is right.
Key Takeaways
- Work from safe access — ladder or platform, never the moving track.
- Mark and photograph the shim stack before removal, and return each side's shims.
- Measure shell width, bracket center distance, and fasteners before install.
- Torque in a criss-cross pattern to the OEM value and re-check after first hours.
- Inspect or replace the bracket — a worn bracket kills the new roller.
Questions to Ask
- Which position on the frame is this carrier roller filling?
- Is the shim stack marked, photographed, and returned side for side?
- Does the bracket measure within spec for center distance and bolt holes?
- What is the OEM torque value for this machine's top-roller bolts?
- Does the listing state the bracket style and OEM cross-reference together?
Find your carrier roller by part number — 20Y-30-00481, CR5595 — or send a photo of the bracket and old roller for a fitment match.
Frequently Asked Questions
How do I remove a seized carrier roller?
Release the mounting bolts and lift the roller off; if it is galled, work it with penetrating oil and heat, and pry on the shell — never the bracket. If force could damage the frame, replace the bracket with the roller.
Do carrier rollers need shims?
On bracket-mounted designs, yes — shims or spacers set the roller's lateral position, and the spec may require a specific stack per side. Mark the stack before removal and return each side's shims to its original position.
Which Komatsu carrier roller fits my model?
The one cross-referenced to your model and serial range with the correct shell width and bracket version. The Komatsu 20Y-30-00481, for example, is cross-referenced to the PC200-8 family — confirm position and bracket with your serial range.
Can I replace the bracket too?
Yes, when the bracket is worn, bent, or damaged — and you should, because a worn bracket misaligns the new roller. Confirm the bracket version against the serial range, since the same roller number can mount on different brackets across revisions.
What torque should top-roller bolts get?
The value in the OEM manual for your machine and bolt grade — there is no universal figure. Apply it with a calibrated wrench in a criss-cross pattern, in passes, and re-torque after the first hours of work.
References
Reference pages accessed August 2026; bracket details must be confirmed against the OEM manual.
More Undercarriage Parts guides
Find the next article for your component, application or buying decision.
Back to Undercarriage Parts