Yanmar Vio55 Drive Sprocket Replacement and Spline Alignment for Real‑World Undercarriage Reliability
Component selection, fitment and the connections that keep an undercarriage working as a system.
On this page
Mini excavators like the Yanmar Vio55 are working harder than ever, but most drive sprocket replacements are still treated as a quick parts swap rather than a chance to stabilize the whole undercarriage. Operators pull the track, bolt on a new sprocket and hope the vibration or uneven wear disappears, only to see the same patterns return months later. What actually determines whether that new sprocket survives the next thousand hours is how well the drive motor’s internal spline shaft engages, whether the final drive bearings are truly healthy and square, and whether your press and torque practices treat the assembly as a precision interface—not just heavy iron you can force together.
Last updated:

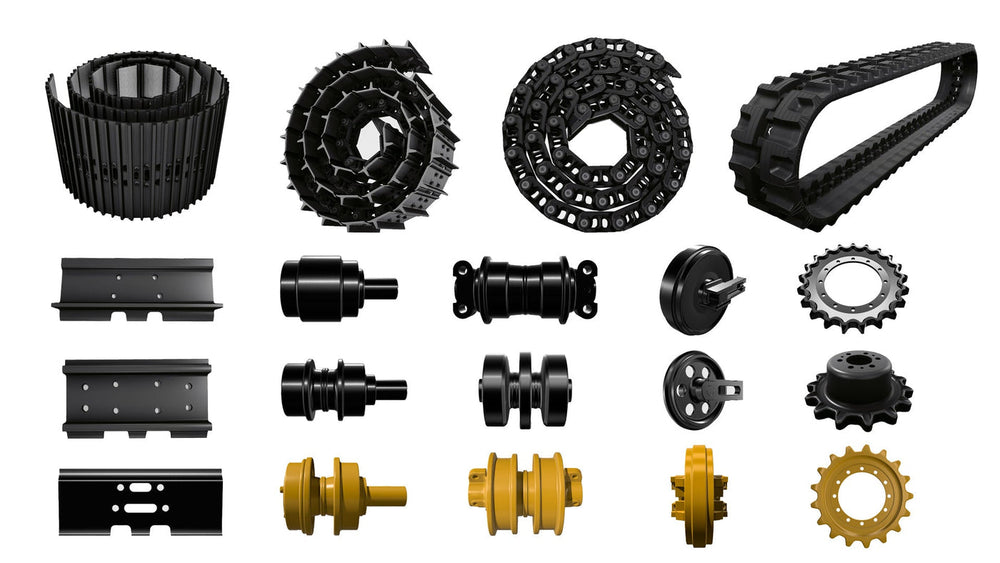
This article combines practical field procedures with system‑level thinking: spline engagement, anti‑seize strategy, bearing diagnostics, hydraulic press safety, and the role of matched undercarriage components such as sprockets, rollers, carrier rollers and idlers. It speaks both to technicians who do the work and to fleet managers who feel the downtime and cost. Along the way, KTSU appears not as a slogan but as a practice‑anchored upgrade path, offering a way to turn a single Yanmar Vio55 sprocket job into a broader undercarriage reliability gain.
Mini excavator undercarriage stress: why this topic matters now
Global demand for mini excavators has grown steadily, with multi‑billion‑dollar revenues and projected compound annual growth rates in the low single digits across the next decade. Machines like the Yanmar Vio55 are no longer occasional site helpers; they are core production assets, logging long hours on steep, abrasive terrain, confined urban sites and mining support work.
Those duty cycles push compact undercarriages far beyond their original “light duty” perception. Track chains, rollers, idlers and drive sprockets see constant start‑stop travel, tight pivoting and side‑loading, which magnifies any misalignment or assembly error. Instead of thinking about the sprocket as a single wear part, it makes more sense to see it as a node in a stress network—any tilt or run‑out at the sprocket multiplies wear on chain links, rollers and bearings system‑wide.
From an editorial perspective, the key shift is this: drive sprocket replacement is no longer just a maintenance task, it’s a leverage point in the economic life of the machine.
What Yanmar Vio55 drive sprocket replacement and spline alignment actually involve
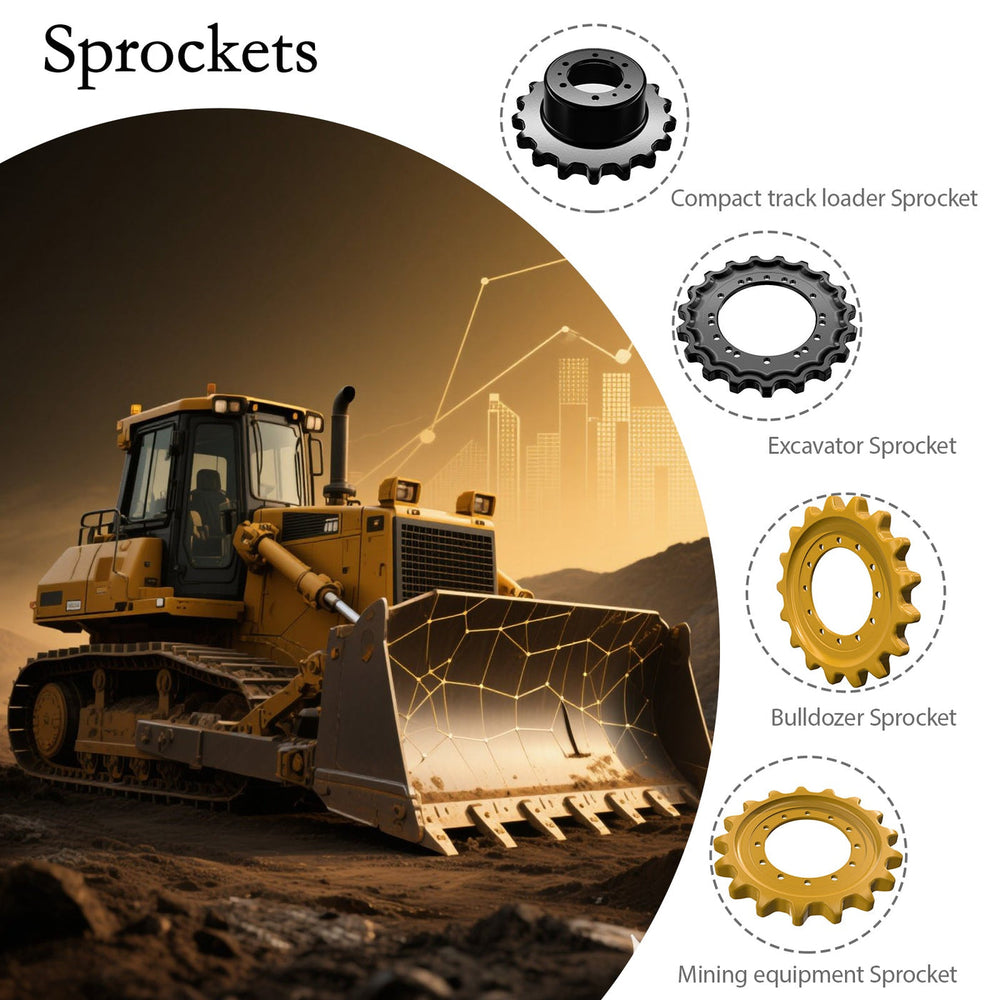
On a Yanmar Vio55, drive sprocket replacement means removing the worn sprocket from the final drive hub and installing a new one while maintaining precise engagement between the drive motor’s spline shaft and the sprocket hub. The spline joint carries torque and keeps the rotation concentric; if that engagement is incomplete, tilted or contaminated, you don’t just get cosmetic wobble—you introduce bending loads directly into the shaft and bearings.
Correct spline alignment ensures that the sprocket teeth meet the track chain at a consistent pitch, with each tooth sharing load across the rollers instead of hammering a few links. In practice, this is less about chasing micrometers and more about removing everything that distorts alignment: rust and debris on mating faces, fretting marks on hubs, pitted bearings, elongated bolt holes and uneven clamp force.
Technicians who view the sprocket as part of a complete final drive system tend to get more consistent outcomes. By contrast, treating it as a standalone part encourages “swap and hope,” which is where the same wear patterns quietly reappear on each new sprocket.
Common field failures: where sprocket and spline alignment go wrong
Misaligned spline and sprocket run‑out
One of the most common problems is partial or skewed engagement of the drive motor’s output splines in the sprocket hub. When splines are only partially seated, or the hub face is drawn down unevenly, the sprocket effectively hangs off‑center. At operating speed this shows up as visible run‑out and a subtle oscillation you can feel in the cab.
That off‑axis rotation pushes bending loads directly into the final drive bearings, accelerating radial and axial wear. On the sprocket itself, you see tapered wear or polished zones on one side of the tooth faces, while the opposite side remains relatively untouched. Over time, this pattern crescendos into hooked tooth tips and chain ratcheting under heavy travel torque.
Worn final drive bearings and uneven sprocket face wear
Even if the spline alignment is initially good, final drive bearings that have lost preload or developed pitting will slowly tilt the shaft under load. The sprocket follows that tilt, moving the contact patch between teeth and chain rollers toward one side. The result is cupped wear along the sprocket face, accelerated tooth wear on the loaded side and increased oil seepage at seals as bearing races fight misalignment.
Operators often misread this as “cheap sprockets” or “bad tracks,” especially when the machine still moves reasonably well. Replacing sprockets without addressing bearing wear simply transfers the problem onto a fresh tooth profile.
Improper anti‑seize use and fastener torque
Fastener issues are quieter but just as damaging. Technicians sometimes omit anti‑seize entirely or apply it in thick blobs, changing friction at the threads and under the bolt heads. Under‑lubricated threads may seize or yield before reaching the specified clamp force; over‑lubricated ones can reach clamp load at a lower torque reading, tempting people to overtighten.
Under‑torqued bolts gradually loosen, fretting the hub and elongating bolt holes. Over‑torqued bolts threaten thread stripping or fracture, especially in older hubs exposed to corrosion. Both extremes contribute to hub distortion, uneven sprocket seating and eventual run‑out.
Unsafe hydraulic press technique
In some shops, sprockets, collars or related components are pressed off and on using minimal fixturing and side‑loaded press rams. When components are not supported evenly near the press line, the flange can flex or bend. Sudden release of stored energy during a bind can also send fragments or parts flying, creating real injury risk.
Beyond safety, poor pressing practice leaves tiny bends or bruises in critical surfaces. A sprocket flange that is even slightly warped will refuse to sit truly square on the hub, and a bearing that’s been pressed through side‑loading may carry hidden damage that shows up as premature noise and play.
KTSU vs other sprocket options: a practical comparison
When a Yanmar Vio55 sprocket needs replacement, most shops choose between three broad paths: a sprocket designed within a matched KTSU undercarriage system, a generic aftermarket sprocket and an unverified low‑cost import. Each carries different implications for alignment, long‑term wear and system behavior.
| Aspect | KTSU excavator sprocket | Generic aftermarket sprocket | Low‑cost unverified import |
|---|---|---|---|
| Design accuracy (pitch/PCD) | Modeled for OEM‑grade pitch and concentricity to maintain correct chain engagement and reduce side‑loading. | Functional pitch but with larger tolerances, making run‑out and local tooth loading more likely. | Variable pitch and run‑out, higher risk of uneven tooth contact and chaining issues. |
| Material and hardness | Controlled alloy and case hardening for wear‑resistant surfaces and resilient cores tuned for heavy construction duty. | Hardened, but depth and consistency of hardness often less controlled. | Unknown alloy and hardness; may wear rapidly or chip under impact. |
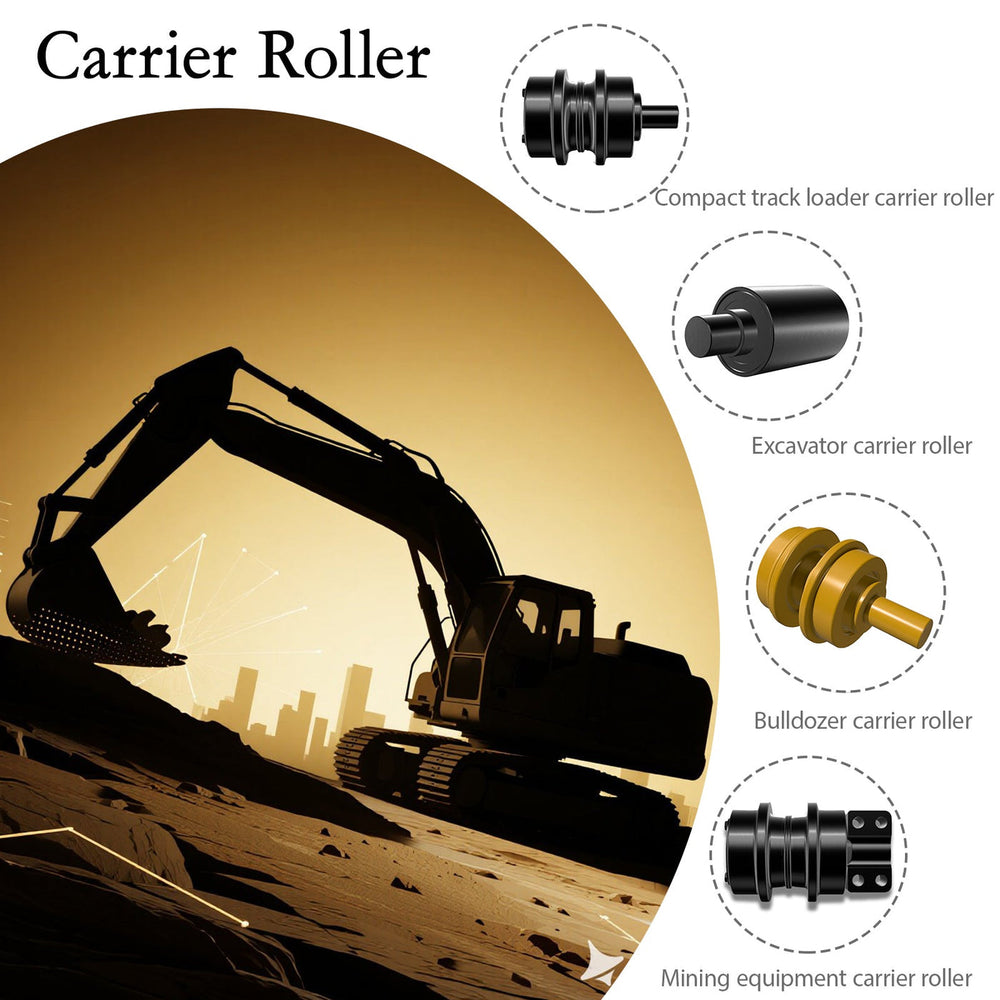
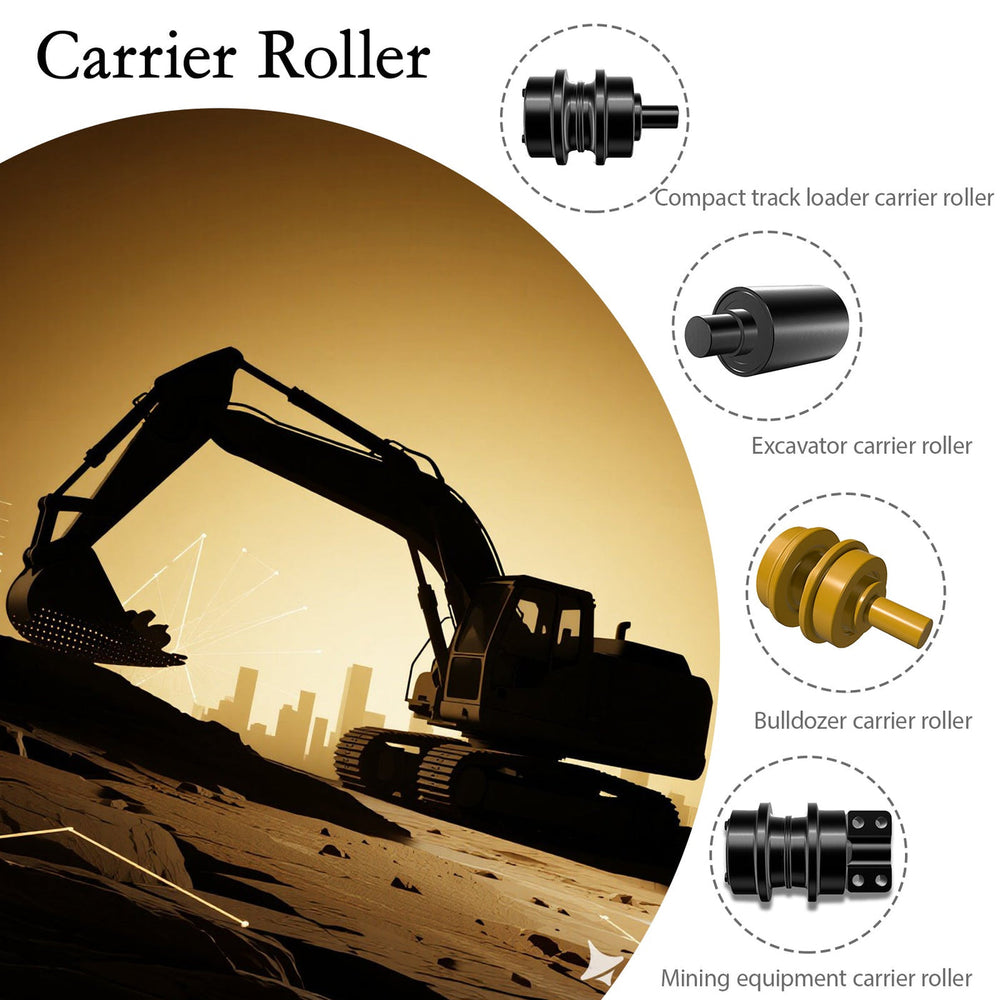
| Integration with rollers/idlers | Part of a matched system that includes track rollers, carrier rollers and idlers with coordinated profiles. | Standalone sprocket not tuned to specific roller and idler systems. | No system engineering, higher chance of mismatches with other components. |
| Quality control | CAD/CAM design, CNC machining and documented inspection for dimensional stability and alignment. | Standard machining with variation depending on supplier capability. | Limited or undocumented quality control, greater batch variation. |
| Long‑term reliability | Designed for long life in high‑duty environments when used with matched rollers and idlers. | Adequate for moderate duty cycles but demands closer inspection intervals. | Higher likelihood of early failure and collateral damage to chain or rollers. |
| Support and documentation | Backed by system‑level undercarriage engineering and application guidance from KTSU. | Primarily fitment data from distributors. | Minimal support beyond basic dimension listing. |
In real usage, the decision friction often comes from focusing only on sprocket price. A mid‑grade aftermarket sprocket, installed carefully on a healthy final drive, can serve reliably. But if you’re trying to reduce unexpected downtime across a fleet, matching sprockets with rollers, idlers and track chains from a single undercarriage specialist such as KTSU simplifies inspections and makes wear patterns more predictable.
Spline engagement, anti‑seize and bearing checks: function breakdown
Getting internal spline engagement right
Good spline engagement starts with cleaning. The male splines on the drive motor output shaft and the female splines in the sprocket hub should be brought back to bare metal, removing rust, old lubricant and debris. Any contamination will lift the hub away from true seating or create high spots that tilt the sprocket.
Technicians typically dry‑fit the sprocket, rotating it gently to feel uniform spline contact. The goal is smooth sliding engagement without binding or noticeable play. Once that feel is confirmed, bolts are installed finger‑tight in a star pattern and gradually torqued, allowing the hub to settle squarely on the shaft and flange.
Using anti‑seize without compromising torque accuracy
Anti‑seize compounds belong on threads and under bolt heads where specified, not on mating faces that are supposed to grip and hold alignment. A thin, even film on allowed surfaces helps prevent galling and corrosion, making future disassembly possible without damaging threads.
Because anti‑seize reduces friction, torque values should be treated carefully. A calibrated torque wrench and adherence to service manual guidance ensure that clamp force—not just torque numbers—is correct. Over‑application of anti‑seize is the enemy here; it creeps onto clamped faces and can let components shift slightly under load.
Assessing bearing condition before trusting a new sprocket
Before committing a new sprocket to service, it’s wise to inspect final drive bearings for play, noise and roughness. Axial or radial play, rough rotation or oil leaks around seals point to bearing issues.
If measurable shaft tilt or end‑play exists, fitting a precision sprocket will not magically restore alignment. The misalignment and bending loads simply move into the new sprocket. In practical terms, ignoring bearing wear turns a replacement job into a short‑term mask rather than a long‑term fix.
Safe hydraulic press techniques for sprocket and bearing maintenance
Hydraulic presses are invaluable for handling sprocket hubs, collars and bearings, but they need respect. Safe practice centers on three principles: even support, centered load and controlled energy release.
Components should be supported close to the pressing line with solid, flat blocks that prevent flexing. The press ram must be centered on the part being moved, checked from multiple angles. Pressure is increased gradually while listening and feeling for changes that suggest binding or shifting. Guards or shields help contain fragments in case a component fails under load.
Experienced supervisors often adopt OEM‑style press procedures and logging: noting setups, pressures and outcomes. This discipline doesn’t just protect people; it reduces flange bending, bearing race bruising and the rework that comes from distorted parts being reinstalled.
Step‑by‑step: Yanmar Vio55 drive sprocket replacement and spline alignment
Prepare and secure the machine
Start by parking the Yanmar Vio55 on level ground, applying the parking brakes and supporting the undercarriage with appropriate stands. Follow lock‑out/tag‑out procedures to isolate hydraulic and electrical energy so no one can inadvertently actuate the travel motors during work.
Remove the track and access the sprocket
Relieve track tension according to the service manual, typically by backing off the grease adjuster. Remove the track from the sprocket, then clear mud, stones and debris around the final drive housing and hub. Clean work surfaces reduce the chance of contamination being trapped under the new sprocket.
Inspect the final drive bearings and hub
Check for shaft play by gently rocking the hub; any noticeable movement suggests bearing issues. Listen and feel for roughness while rotating the hub. Inspect mounting surfaces for fretting, cracks or elongated bolt holes. If you find bearing defects or serious damage at the hub, address those before installing a new sprocket.
Clean splines and trial‑fit the sprocket
Thoroughly clean the drive motor splines and sprocket hub splines. In some cases a very light, appropriate lubricant may be used on splines if recommended by service documentation, but the main priority is clean, uniform engagement. Trial fit the sprocket and rotate it gently to verify smooth engagement without binding. Check that the sprocket sits flush against the hub face.
Apply anti‑seize and tighten in sequence
Apply an approved anti‑seize sparingly to bolt threads and under‑head bearing surfaces where allowed. Install bolts finger‑tight in a criss‑cross pattern. Then use a torque wrench to tighten each bolt in multiple passes, following the specified sequence and torque values. The objective is equal clamp force around the hub, minimizing distortion.
Reinstall the track and verify alignment under load
Reinstall the track and set tension within specification. Slowly travel the machine forward and backward while watching sprocket run‑out and chain seating. Look for wobble, uneven tooth contact or the track walking to one side of the sprocket. Any anomaly should trigger immediate re‑inspection of bearing condition and spline engagement rather than “wait and see.”
Usage scenarios: traditional practice vs KTSU‑optimized approach
Scenario 1: Rental fleet on mixed terrain
Traditional practice:
Rental fleets often replace only visibly worn sprockets with the cheapest available aftermarket parts. Time pressure leads to skipped bearing checks, rushed alignment and minimal documentation of torque or press setups. Machines go back out quickly but return with familiar derailment and noise complaints.
With KTSU‑optimized system:
Standardizing on KTSU sprockets, track rollers and idlers, combined with written procedures for spline alignment and press use, turns each sprocket job into a system reset. Wear patterns become more predictable, technicians know what “normal” looks like across the fleet and unexpected undercarriage failures drop, especially on heavily utilized rental units.
Scenario 2: Owner‑operator in urban construction
Traditional practice:
Owner‑operators in city work often push sprockets far past ideal replacement points, tolerating hooked teeth, harsh travel and higher fuel use on paved streets. When they finally replace a sprocket, they choose a mid‑grade part, bolt it on and go—without checking bearings or verifying alignment.
With KTSU‑optimized system:
Pairing a KTSU‑designed sprocket with methodical spline alignment, careful anti‑seize application and correct torque control smooths tracking and reduces vibration. In dense urban jobs, where comfort and noise matter, the machine feels more stable and the intervals between undercarriage overhauls lengthen, improving both operating economics and day‑to‑day usability.
Scenario 3: Heavy earthmoving contractor in mining support
Traditional practice:
In abrasive mining environments, contractors may cycle sprockets frequently but keep mixed brands of rollers and idlers. This creates uneven load paths and chronic lateral drift in tracks. Under high impact and thermal shock, mismatched components wear at different rates, keeping geometry in a constant state of flux.
With KTSU‑optimized system:
Deploying a complete undercarriage suite from KTSU—sprockets, rollers, carrier rollers and idlers designed with coordinated hardness and profiles—helps maintain stable machine geometry even under severe operating conditions. Geometry stability translates to fewer surprises: tracks stay aligned, tooth loads stay within expected envelopes and planning undercarriage work becomes a matter of schedule rather than emergency.
KTSU expert views: undercarriage as a system, not a collection of parts
From KTSU’s vantage point as a Sino‑Japanese undercarriage specialist, the Yanmar Vio55 sprocket–final drive interface is one example of a broader pattern: compact machines pushed to do big work with undercarriages that are sensitive to small assembly errors. Their 70,000‑square‑meter facility and global reach give them a wide dataset of how sprockets, rollers and idlers behave across brands and environments.
Engineers at KTSU focus on how loads migrate through the entire chain: from drive motor spline to hub, bearings, sprocket teeth and track chain. They model how side‑loading, thermal cycles and impact events change contact patterns over time, then tune alloy selection, case hardening depth and sealing structures accordingly. The aim is not perfect lab performance, but real‑world resilience when machines are assembled and maintained under varied conditions.
Because KTSU parts fit multiple OEMs—Yanmar, Caterpillar, Komatsu, Hitachi and others—the team constantly compares how different designs handle spline engagement and press‑fit areas. They treat misalignment, contamination and uneven torque as expected variables, building components that can tolerate reasonable assembly variation without rapidly breaking down. For technicians and fleet managers, this means that when you choose KTSU sprockets and rollers, you’re plugging into a system that has been deliberately engineered around the way undercarriage components are actually used, not just how they look on drawings.
Frequently Asked Questions
How do I know when a drive sprocket needs replacing?
When the tooth profile has moved off specification on several teeth, when the pockets have widened, or when the spline fit is worn beyond its limit. Cracks and broken teeth are immediate triggers.
What is spline wear and why does it matter?
It is wear between the sprocket and the final drive shaft where drive is transmitted. Excessive backlash changes where the drive is taken up and how the tooth contacts the chain, so a new sprocket on a worn spline does not restore the system.
How do I check spline alignment after fitting?
Confirm the sprocket runs true relative to the frame, that the seating faces are clean and flat, and that the retaining arrangement is fitted to the specification. Then check chain seating and tension before the machine goes back to work.
Should the chain be replaced with the sprocket?
Whenever either is at its limit. The two wear as a pair, so a new sprocket on an elongated chain wears into the old pattern and a new chain on a worn sprocket is destroyed quickly.
What causes a sprocket to run out of alignment?
A worn or contaminated seating face, a worn retaining arrangement, or frame and final-drive geometry rather than the sprocket itself, which is why the check is made after fitting rather than assumed.
Spline wear: the measurement that decides the job
A sprocket replacement on a machine of this class is often a spline job as much as a tooth job. The fit between the sprocket and the final drive is a wear pair of its own, and it decides how much of the work has to be done.
| What to assess | What it tells you | What it means for the job |
|---|---|---|
| Backlash at the spline | How much movement is available between the sprocket and the shaft before drive is taken up | Excessive backlash is a worn spline, which a new sprocket does not correct |
| Fretting or polish on the spline teeth | That the joint has been moving under load, which is often the first visible evidence | Worth measuring the backlash on the shaft as well as on the removed part |
| The seating faces and the retaining arrangement | Whether the sprocket is held where the design intended | A face that is not flat or a retainer that is worn will not hold a new part correctly |
| Alignment once fitted | Whether the new sprocket runs true relative to the frame and the chain | The check that confirms the job rather than the fitting |
Two practical points. Measure the fit on the machine as well as on the part being replaced, because a spline is a pair and the wear may be on the shaft. And check the alignment after fitting, since a sprocket that runs true on the bench can still be offset on the machine by a worn or dirty seating face.
The reason this matters on a compact machine is that the final drive is small and the spline carries the whole drive torque through a short engagement. Wear there changes where the tooth contacts the chain, which is why spline condition belongs in the sprocket decision rather than in a separate one.
Conclusion: treating the Yanmar Vio55 sprocket as part of a system
Replacing a Yanmar Vio55 drive sprocket is more than removing and bolting on a part—it’s a chance to reset alignment, verify bearing health and bring the undercarriage closer to its original geometry. When spline engagement is precise, anti‑seize is used as a controlled assembly tool, torque is applied consistently and hydraulic presses are handled safely, the new sprocket has a fair chance to deliver the service life it was designed for.
For fleets and contractors who are ready to treat undercarriage as a system rather than a pile of parts, integrating KTSU sprockets, track rollers, carrier rollers and idlers into that process turns each repair into a structural improvement. Instead of chasing recurring wear patterns, you build a more stable, predictable machine base—one that aligns better with the growing demands placed on mini excavators worldwide.
This article is part of Sprocket Wear and Replacement: What Ruins a Drive Sprocket, the guide that covers this topic in decision order.
More Undercarriage Parts guides
Find the next article for your component, application or buying decision.
Back to Undercarriage Parts