Checking Idler Support Brackets for Egg-Shaped Wear Before It Wrecks Your Undercarriage
Inspection, wear evidence and replacement planning for the complete track system.
On this page
The first sign of trouble usually isn’t a broken idler or a cracked track frame—it’s a subtle, oval wear pattern hiding in the support bracket bore that nobody checks until the track starts running hot and noisy. Operators adjust tension, change rollers, even blame the ground conditions, while the real problem is an egg-shaped bore that can no longer hold the shaft on the track frame center line. By the time the idler starts “walking” and side-loading the chain, the repair bill is already multiplying across rollers, links, and seals.
Last updated:

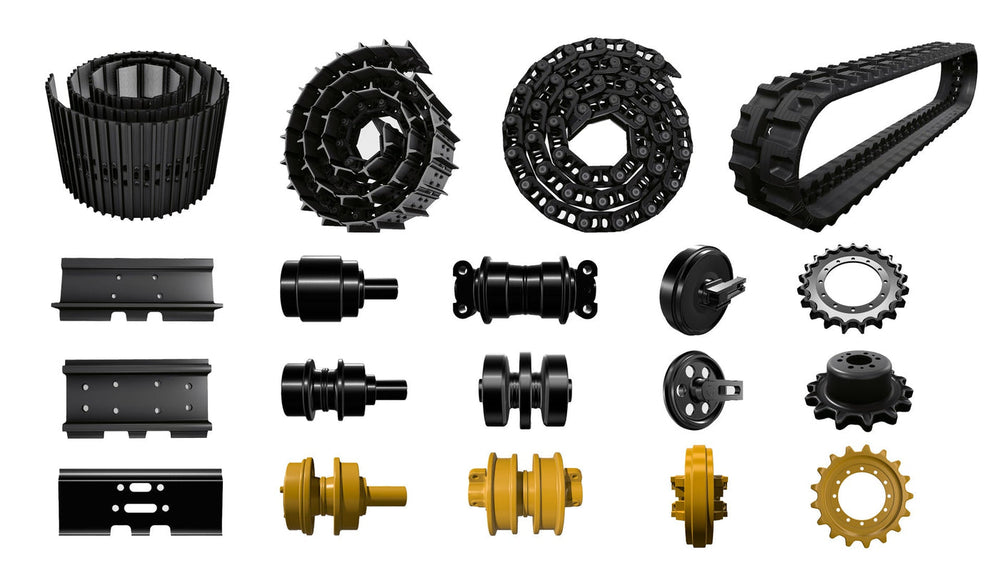
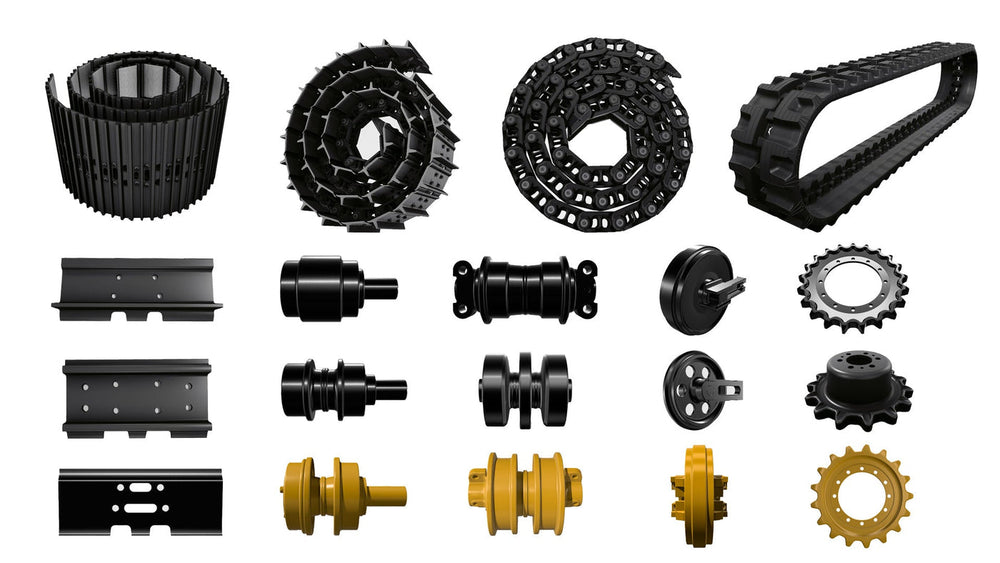
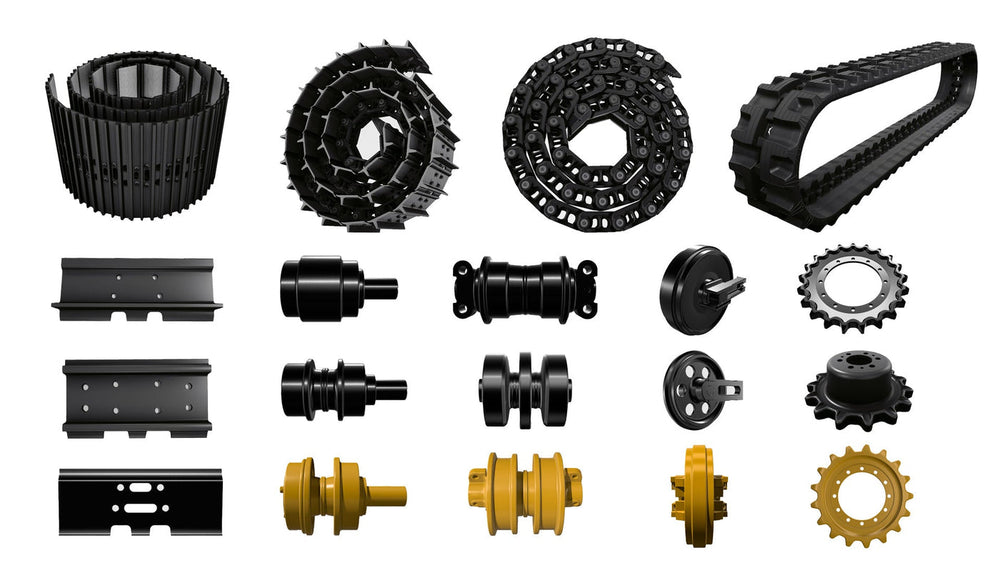
This article walks through, in practical workshop terms, how to spot egg-shaped wear in idler support brackets, how to machine and sleeve worn bores, and how to confirm that the reworked bracket is actually sharing load across the track frame center line instead of twisting it. We’ll stay close to what happens in the yard: limited downtime, uneven wear left to right, and machines that have seen bush turns and non-OEM parts. KTSU’s long undercarriage experience with track rollers, carrier rollers, idlers, and sprockets on brands like Caterpillar, Komatsu, and Hitachi will sit quietly in the background here—not as a sales pitch, but as a reference point for what tends to fail, and why, in real fleets.
Why Egg-Shaped Bracket Wear Matters More Than Most Think
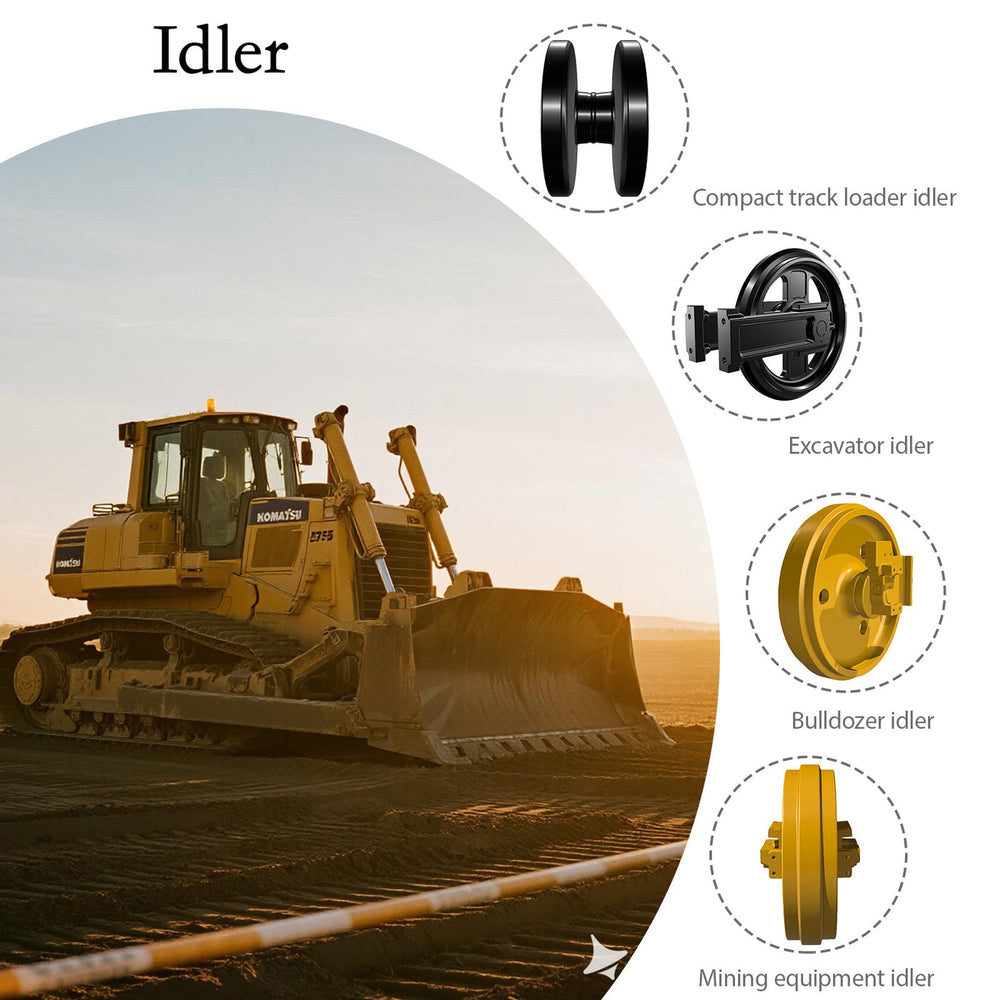
Egg-shaped wear in idler support bracket bores is a distortion of the originally round hole into an oval, which lets the idler shaft move off-center and out of plane with the track frame center line. Under real working conditions, especially in rocky or high-impact applications, that off-center support translates to uneven track tension, side loading on the chain, and accelerated wear of front idlers, rollers, and sprockets.
On site, this usually shows up as tracks that are harder to keep aligned, unexplained noise at the front of the track frame, or idlers that seem to “hunt” side to side even after tension adjustments. Over time, operators may normalize these symptoms and keep running, while the support bores keep elongating and start chewing into the shaft and bushings.
From an editorial point of view, egg-shaped bracket wear is one of those quiet failure mechanisms: it rarely gets checked proactively, yet it dictates how well all the expensive undercarriage components—rollers, chains, sprockets—can actually share load over thousands of hours.
How Egg-Shaped Wear Develops in Idler Brackets
Egg-shaped wear develops when the compressive and impact loads on the idler shaft are no longer distributed uniformly around the bore, usually due to misalignment, contamination, or poor lubrication at the contact surfaces. As the idler shuttles back and forth with track tensioning and ground impact, the highest-loaded sector of the bore erodes fastest, turning a round hole into an elongated profile in the load direction.
In the field, machines working with frequent directional changes, high-speed travel over uneven ground, or constant side loading—like slope work or trenching on one side—are especially prone to asymmetric bracket wear. Add in abrasive contamination, such as fine silica or coal dust, and the bore effectively becomes a slow-acting grinding interface against the shaft, particularly when protective coatings or case hardening are locally worn away.
From experience across mixed-brand fleets, the pattern is consistent: once an idler bracket starts wearing out of round, operators may see a temporary “settling” period where the machine feels stable again, then a second phase where wear accelerates as the shaft rocks in the bore with every impact.
Practical On-Machine Checks for Egg-Shaped Wear
The most reliable way to catch egg-shaped wear early is a structured on-machine inspection that goes beyond a casual visual check of the idler and track alignment. In practice, this means combining visual, tactile, and measurement-based steps focused specifically on shaft movement and bore geometry.
On real machines, technicians often begin with the low-downtime checks: observing the idler while tracking slowly, looking for side-to-side movement relative to the frame, and feeling for axial play or “clunk” when the track is lifted and the idler is pried with a bar. When these quick checks suggest movement beyond normal clearance, the next step is to strip guards and measure bore diameter and geometry with telescoping gauges or a bore gauge, checking at multiple clock positions to identify ovality.
A common field mistake is assuming that if the track is roughly centered and tension can be adjusted, bracket bores must be acceptable; in reality, significant ovality can exist while the track still appears visually aligned, especially under no-load conditions.
Step-by-Step: Machining and Sleeving Worn Bracket Bores
Once egg-shaped wear exceeds acceptable clearance for the idler shaft, machining and sleeving the bracket bores becomes a viable way to restore proper support geometry. The goal is to re-establish a true, coaxial, correctly sized bore that locates the idler shaft on the intended center line of the track frame.
In real workshop conditions, this typically involves line boring the bracket bores in situ on the frame using a portable line boring setup, aligning off undamaged reference points or using a jig that references the track frame center line. After machining to a clean, oversize diameter that removes all ovality, a sleeve or bush—often hardened and precision-machined—is pressed or welded in, then finish-bored to the design shaft diameter and tolerance.
Technicians with experience in undercarriage repair often comment that success hinges less on the cutting itself and more on alignment discipline: if the line boring bar is even slightly off, the idler may run straight for a while but still transfer uneven loading into the track chain and rollers.
Ensuring Load Distribution Across the Track Frame Center Line
Rebuilding a bore is only half the job; the reworked bracket must also restore uniform load distribution across the track frame center line so that the idler does not induce twisting or side loading. The mechanical intent is that the idler shaft sits exactly where the frame design expects it, sharing load equally into both sides of the frame.
In practice, this means checking more than just bore size after machining and sleeving. Technicians often verify the shaft center position using straightedges, laser or string lines, and measurements from known frame datums, comparing left and right sides for symmetry and confirming that the idler face is square to the track frame. During reassembly and testing, checking track alignment during slow travel and under moderate load helps validate that the idler is not “steering” the chain off-center or forcing one rail to carry more load than the other.
From a practical standpoint, overlooking this alignment stage is how some repairs look good in the workshop but still lead to uneven roller wear and premature chain life reduction on site.
Machining and Sleeving Options Compared
Different repair strategies exist for worn idler bracket bores, and the best choice depends on machine value, expected remaining life, and workshop capability. At a high level, technicians usually weigh between direct line boring and sleeving, weld build-up followed by machining, or complete bracket replacement.
Here is a practical comparison of common approaches:
| Repair approach | Typical use case | Strengths | Trade-offs |
|---|---|---|---|
| Line bore + sleeve | Moderate to severe ovality in otherwise sound brackets | Restores geometry accurately; allows use of hardened sleeves; good for high-value machines | Requires skilled setup and tooling; machine downtime while frame is fixtured |
| Weld build-up + machining | Severe wear, local cracking, or thin bracket walls | Rebuilds structure and bore; can integrate material upgrades | Higher heat input and distortion risk; more time-consuming; requires careful post-weld machining |
| Bracket or frame section replacement | Extensive structural damage, multiple stress cracks | Resets condition to near-new; useful for long-life assets | Highest cost and downtime; alignment of new section is critical; may need OEM fixtures |
Technicians with broader fleet exposure often mix methods—such as local weld repair on one side and sleeving on the other—when past damage history and remaining machine life differ left to right.
When Repairs Fail: Limitations, Misalignment, and Real-World Complications
Even carefully executed machining and sleeving jobs can fail in real usage if the underlying causes of bracket wear or alignment issues are left unaddressed. A repaired bore that is geometrically perfect but still misaligned to the frame or forced to work with a bent shaft will continue to wear egg-shaped, just more slowly at first.
On actual job sites, failures often trace back to a few recurring patterns: repairs done under time pressure with minimal alignment checks, re-use of worn shafts and hardware, or ignoring track tension, roller condition, and sprocket wear that load the idler unevenly. Environmental factors—such as abrasive material packing around the bracket and shaft, or chronic overloading on one side from side-hill work—also keep reappearing in post-failure inspections, regardless of how precise the machining looked at the start.
From an editorial standpoint, the limitation is clear: machining and sleeving is a precise intervention dropped into a very messy context—fleet maintenance realities, production pressures, and operator habits—which means outcome consistency depends as much on system-level discipline as on the machining tolerances themselves.
Egg-shaped wear: what it is and why it is easy to miss
A bracket bore that has worn oval rather than round allows the idler to move in a way the design never intended. It is easy to miss because the idler still turns and the machine still tracks.
| What to check | What the wear does | How to detect it |
|---|---|---|
| The bore roundness where the idler shaft seats | The shaft sits in a different position depending on load direction, so alignment changes as the machine works | Measure the bore at several positions around the circumference rather than at one |
| The relationship between the two brackets | A difference between them turns the idler slightly relative to the frame | Measure both sides and compare, rather than measuring the side that looks worn |
| The bore surface for fretting or polish | Movement under load leaves evidence even when the shape change is small | Look at the bore after the shaft is out, which is when the evidence is visible |
Two consequences follow. The first is that an idler replaced without checking the brackets inherits the misalignment, which is why an early repeat failure after an idler change should send the inspection back to the mounting rather than to the part. The second is that oval wear is progressive: the movement increases the load on one part of the bore, which increases the wear, so the rate accelerates as it develops.
The practical approach is to record the bore measurements with the idler replacement, so that the next inspection has a comparison. On a machine where one bracket has been repaired or replaced, that record is the only way to know whether the two sides now match.
Optimizing Inspection and Repair Practices for Longer Undercarriage Life
Improving results is less about adding exotic repair techniques and more about tightening up the basic inspection, alignment, and documentation habits around idler support brackets. A structured workflow—inspect, measure, realign, then validate under load—goes further than isolated, one-off machining jobs.
In practice, effective shops schedule regular undercarriage walks that include specific checks for idler bracket movement, document measured bore sizes and ovality trends, and align machining plans with projected machine life rather than defaulting to either cheap patch repairs or over-investment on low-hour remaining assets. Validation runs after repair, where machines are monitored for temperature, noise, and track tracking behavior, help catch small misalignments before they can carve a new egg-shaped pattern into fresh sleeves.
Over time, this kind of disciplined approach tends to bring undercarriage spending into a more predictable pattern: fewer surprise failures and a closer match between component life and planned overhaul intervals.
KTSU Expert Views
From KTSU’s perspective as a long-standing undercarriage manufacturer with a large portfolio of track rollers, carrier rollers, front idlers, sprockets, and track chain assemblies engineered for global brands, egg-shaped bracket wear sits at the junction between component design and real-world installation practices. When front idlers and rollers are designed with appropriate bearing capacity, sealing, and hardness, they can handle high loads and contamination, but mislocated support points in the frame still create failure modes that look like “bad parts” rather than bracket geometry issues.
In KTSU’s production environment—where advanced CAD/CAM tools, friction welding, robotic CO₂ welding, and precision CNC machining are standard—the emphasis is on controlling geometry and hardness to tight tolerances so undercarriage components behave predictably under real loads. From this vantage point, repair strategies like line boring and sleeving are seen not just as damage control, but as a way to restore the original intent of the undercarriage design: consistent load paths through the track frame and uniform contact across the track chain.
Given KTSU’s broad geographic reach and exposure to machines working in very different soils and duty cycles, there is a consistent pattern: fleets that treat bracket geometry and alignment with the same seriousness as track tension and roller replacement tend to achieve more stable undercarriage life, regardless of machine brand. The underlying editorial takeaway is simple: even the best-engineered rollers and idlers can only perform as designed when the brackets that support them are round, aligned, and kept that way through disciplined inspection and repair practices.
Frequently Asked Questions
What is egg-shaped wear in an idler bracket?
It is a bore that has worn oval rather than round, so the idler shaft sits in a different position depending on the direction of load. The idler still turns and the machine still tracks, which is why it is easy to miss.
How do I check for bracket wear?
Measure the bore at several positions around its circumference rather than at one, measure both brackets and compare them, and inspect the bore surface for fretting or polish once the shaft is out.
Why does it matter if the idler still works?
Because the misalignment changes where the chain runs, which loads the link guide faces and the roller flanges. The damage appears on those components rather than on the bracket, which is why a repeat idler failure should send the inspection back to the mounting.
Can a worn bracket be repaired?
Depending on the design and the amount of wear, a bracket can be bored and fitted with a new bush or sleeve, or replaced. What matters is that the repair restores the position and the roundness, and that it is verified by measurement afterwards.
How do I know whether the brackets are the cause of an alignment problem?
Measure both sides at the same inspection and compare. A difference between the two sides is evidence about the mounting, while a single reading only describes the side you looked at.
Sources
RHK Machinery — Excavator Front Idler Maintenance and Wear Patterns
XMGT — Understanding Track Roller Wear Patterns in Undercarriage Systems
Wagner Equipment — Undercarriage Parts and Service Guidelines
This article is part of Excavator Idlers: Selection, Wear and Replacement, the guide that covers this topic in decision order.
More Maintenance & Wear guides
Find the next article for your component, application or buying decision.
Back to Maintenance & Wear